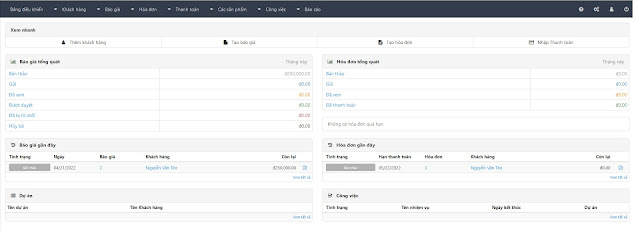
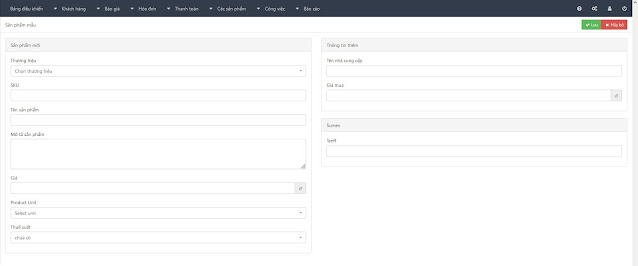
InvoicePlane is a free and open source invoicing application designed to help businesses easily manage their invoicing needs. Built using the PHP framework, CodeIgniter, InvoicePlane provides a user-friendly interface for creating and managing invoices, quotes, and clients.
With InvoicePlane, users can easily create and send professional-looking invoices, quotes, and receipts to clients. The application also offers features such as automatic reminders for unpaid invoices, customizable invoice templates, and the ability to add custom branding to invoices.
In addition to invoicing, InvoicePlane offers tools for managing client information, tracking payments, and generating reports. Users can also manage their account settings, including invoicing preferences, user permissions, and email notifications.
One of the key benefits of InvoicePlane is that it is open source, meaning that the code is freely available to the public and can be customized to suit specific business needs. This makes InvoicePlane a flexible and cost-effective solution for businesses of all sizes.
Overall, InvoicePlane is a powerful yet easy-to-use invoicing application that can help businesses streamline their invoicing and client management processes. With its extensive features and open source nature, InvoicePlane is a top choice for businesses looking for a reliable and customizable invoicing solution.
Requirements
If you want to use InvoicePlane you have to follow these requirements to use the application.
- A webserver / shared hosting with the following specifications:
- MySQL >= 5.5 or the equivalent version of MariaDB
- Apache >= 2.4 or Ngnix >=1.20.0
- PHP >= 8.0
- The following PHP extensions must be installed and activated:
- php-gd
- php-hash
- php-json
- php-mbstring
- php-mcrypt
- php-mysqli
- php-openssl
- php-recode
- php-xmlrpc
- php-zlib
*How to install script:
- Download and extract the archive.
- Create an empty database on your web server.
- Upload the files to your web server, either into a subdirectory or into the public root of the web server.
- Make a copy of the ipconfig.php.example file and rename the copy to ipconfig.php
- Open the ipconfig.php file and add your URL in it like described in the file.
- Comment out the first line of the ipconfig.php file by adding a # at the beginning of the line as described at pt. 2 here
- Run the InvoicePlane installer from your web browser and follow his instructions: http://your-domain.com/index.php/setup
- Once the installer finished, the installation is complete and you may log into InvoicePlane using the email address and password you have chosen during the installation.
Tags
inventory


